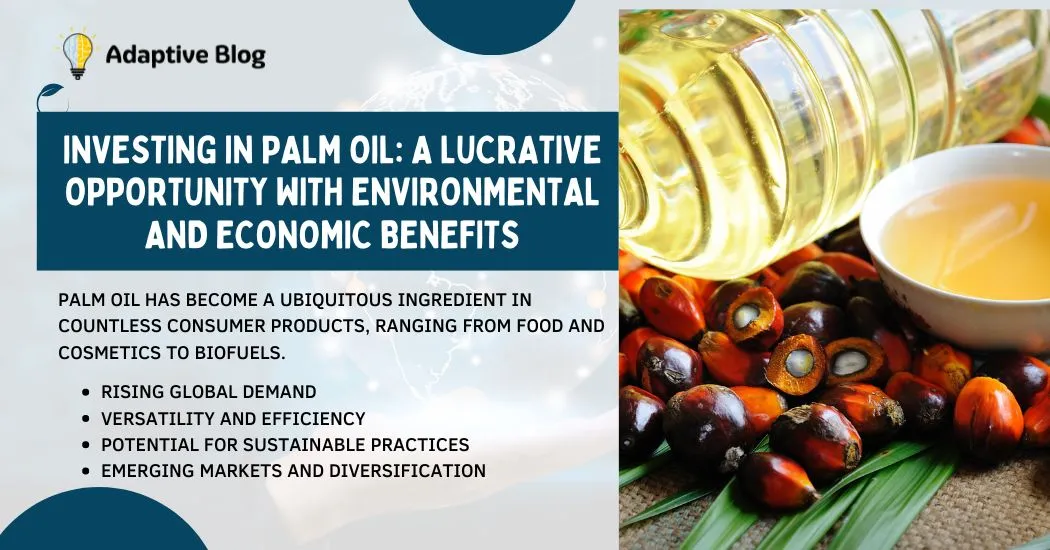
Business Science & Technology

How Shopify Store Owners Can Manage Delivery Dates With a Plugin

The ultimate goal of an online retail site should not only be to entice customers to click the Add to Basket button but also to leave them feeling satisfied. To make shopping a pleasant journey without unwelcome stops or mistakes, it is imperative to arrange adequate delivery. You can keep clients pleased and improve the reputation of your company by managing orders in an orderly manner and delivering them on time.

ECommerce stores may easily integrate and control the functionality for scheduling shipments with the help of the Local Pickup & Delivery Date Shopify plugin. You can quickly discover how to install the app, get it working, and modify its features and functionality to match current merchandising requirements and order management guidelines. Shopowners can learn to manage Shopify Delivery Date easily.

Since Shopify provides the software and hosting, you don’t need any technical knowledge to start a basic Shopify store. This not only makes it simpler to launch but also increases the likelihood that Shopify’s hosting will be faster and more secure. This is higher than you could achieve on your own, as well as easily handle any traffic spikes you may experience.

 All software updates are handled by Shopify as well. Consequently, you won’t have to worry about technical problems and can concentrate entirely on selling.

Overview of features 

The Delivery Date & Time Suite has proven compatibility with ten free Shopify themes and an intuitive design. By giving them access to the following features, the software enables online store owners to offer a distinctive experience. Both delivery management staff and customers can benefit from the following capabilities:

  • You have the option of using the complex manual approach for bespoke setup instead of the easy-as-pie installation that automatically embeds the necessary code snippets.
  • You can learn how to effectively adapt its capabilities to your workflow through guided onboarding.
  • Order and payment status can be followed throughout the request management process.
  • Defining shipping policies, such as expected delivery or idle dates (such as holidays or vacation days), same-day shipment hours, or order processing restrictions.
  • Setting the front-end user experience includes changing the appearance of the functionality on your Shopify page, such as by enabling or disabling interface components.

The benefit of the app is shown for someone on the other side of a store window—a customer—by a streamlined flow for setting the delivery date and time.

Steps to get started with the Shopify Suite 

There are only two steps to set the Shopify app up and running for the benefit of your eCommerce business.

Step 1: Navigate to the Shopify webpage and click Add app.

The Shopify suite comes with a free trial option with a trial period of five days. It is available on a subscription basis. The monthly rate of subscription is considered cheap by many businesses or shop owners.

Step 2: you can complete the automatic installation and enjoy the effortless delivery administration of Shopify.

The Shopify application’s functionality is integrated into your Shopify page code. This happens automatically, and no interference on your part is required. This allows customers to choose a convenient shipment date and time to get their products delivered.

To start setting up the local pickup and delivery date using the plugin, go to the Shopify admin page. In the Shopify admin page, select Apps → Delivery Date & Time Suite. The Orders screen will appear. In that, you can see a summary overview of current requests. It will also have the completion and payment statuses, customer comments, and delivery dates. 

Managing Orders

You can look through a particular order from a customer. A wide range of customization is available to alter Shopify Delivery Date that is convenient for you. You can also edit a particular order made by a customer. To do these, click on the particular order you want to edit in the Orders column. The Shopify app will then navigate you to a page featuring the following areas:

Sold product info: this field contains information about the state of a customer request. It also shows if the customer’s request is fulfilled or unfilled. This section also shows the quantity and the price of the merchandise. It includes buttons to change the order status you selected. You can also create a shipping label.

Payment particulars: the area contains the settlement status of the orders. It also contains delivery terms and the total amount charged. You can click the Mark as paid button to update an order as paid.

Request processing timeline: Along with the date and time, the section illustrates key steps in a delivery flow, starting with the order placement. Additionally, store administrators can make remarks to go along with particular records.

Managers can access and update client order-related remarks and contact information. They can also access extra information (such as the delivery date), shipment addresses, and billing and shipping information from this page. Access to statistics on fraud and conversion analysis is also provided.

Configuring the app

To set the Delivery Date and Time Suite to your business needs of the present time, click the Settings button on the Orders page of the Shopify website.

Make the optimal management decision for your in-store delivery procedure by using the UI elements that are accessible (such as buttons and checkboxes). Always confirm your selection by clicking Save before leaving the Settings page. You can read about it to learn comprehensive configuration instructions as well.

Enabling/ Disabling the Shopify Suite

Navigate to the General section of the app settings in order to enable the code-included feature for planning a delivery timetable on your Shopify page.

By default, the status is “enabled.” Click the Disable button to remove the feature from your cart.

Configuring the user interface 

To customize the delivery planning functionality on the side of shop visitors, the suite offers two groups of parameters. On the Shopify page for the store, one can select whether to enable or disable particular features as well as display or hide particular information fields. The other is used to beautify and localize the app’s appearance.

  • The first set of options is located in the Front-end experience setup section. Complete it to gain the following results:
  • Check or uncheck the Delivery date required according to whether or not setting up a shipment date and time is necessary to continue with the purchasing flow.
  • Choosing the Display comment field will allow users to add comments to requests. This commentary input form does not show up on your site’s cart page if the box is not ticked.
  • Set Enable time intervals for customers to know their alternatives to “yes” if your store’s delivery strategy is to stick to particular time frames.
  • By selecting Preselect delivery date and adding it to your Shopify site calendar, you can accept customers on the following day of shipment.
  • In the More remarks section, be sure to include a description if you want to give them any additional shipping information.

To localize fields associated with the functionality provided by the app, use the Translations settings of the first group.

In the Styling area, on a product page at Shopify, use a dropdown calendar or buttons to adjust the color and the mode to select or change the delivery date and time.

Managing Shipment Rules and Restrictions 

Setting criteria for how online retailers should handle requests and coordinate deliveries through the suite. It can be done by checking the fields in the Shipping configuration and Shipping restrictions areas.

To complete the configuration, follow the instructions:

  • Check the weekdays that you are available to deliver on in the Day column.
  • Choose the 12- or 24-hour count style to indicate the estimated delivery time in the Time Format box.
  • Enter the time in the SDD end column to indicate when the store will stop accepting orders for same-day shipping. Use the format exactly as it was put up in Step 2.
  • In the Orders limit boxes, specify the most orders your business can fulfill on a given day.
  • If you use delivery intervals on your Shopify site, click Manage periods to set or modify them.
  • The Processing order period feature allows you to choose the minimum number of days needed to handle a customer request.
  • The Shipping Restrictions block is next.
  • Enter a range of days that consumers can reserve orders for in the Maximum delivery period section.
  • In the Blackout dates box, enter the days when your store will not accept delivery requests.

On your Shopify shopping page, modify the Product tags field as necessary to disable the scheduling functionality for particular products (those that are only available for pre-order).

You may trust the Delivery Date & Time Suite to make it easier to manage shipment processes related to your Shopify page once you have completed all the settings above. Take the time to study the entire user guide if you need additional information about the settings.

Final thoughts

There is some hassle involved in the infrastructure, and there are high development costs associated with self-hosted platforms. Shopify provides a simple solution to quickly build an online store. All the elements in Shopify platform is clearly organized. The admin interface is simple, and intuitively designed. On the Shopify website, you may also access a wealth of written and visual instructions.